Install GNU Octave on macOS and getting started with the image processing package
Posted on July 11, 2019 by Paul
In this article, I will show you how to install and get started with GNU Octave on macOS. In order to test the installation and to exemplify the usage, I will show you how to use Octave for a simple image processing application.
At the time of this writing, the latest stable version of Octave is 5.1.0. Unfortunately the graphical interface of Octave 5.1.0 is buggy on macOS and tends to freeze randomly. If you are OK with using the CLI interface of Octave, you can use version 5.1.0. See the second part of this article for a quick how to install and setup.
Since most Octave users will prefer the GUI interface, I will first show you how to install Octave 4.4.1, which seems to be more stable than 5.1.0 on macOS when used in GUI mode.
I assume that you have the Command Line Tools installed on your machine. If this is not the case, write the next command in a Terminal and accept the defaults:
1 xcode-select installThe article consists of three parts:
- Install Octave 4.4.1 on macOS for GUI workflow
- Install Octave 5.1.0 on macOS for CLI only workflow
- Image processing with Octave
At this time, there is no official installer for Octave for macOS. In order to install 4.4.1 we are going to use the Octave.app build. Go to the Download page and get the Current Release of Octave. You should end up with a file named Octave-4.4.1.dmg in your Downloads folder.
Version 4.4.1 depends on OpenJDK 11.0.2+9 which you can get from the OpenJDK archive. Make sure that you pick the exact version mentioned before. In order to install OpenJDK 11.0.2, open a Terminal and execute the next commands:
1 cd ~/Downloads
2 tar xf openjdk-11.0.2_osx-x64_bin.tar.gz
3 sudo mv jdk-11.0.2.jdk/ /Library/Java/JavaVirtualMachines/
Once you’ve installed the required version of Java, you can proceed with installing Octave. Double click on the dmg file, accept the license and drag the app to your Applications folder. Since this is a third party unsigned build, first time when you start Octave you will need to right click the app and select Open.
You’ll also need to instruct Octave to use the GnuPlot graphics backend for plotting graphics. The default qt backend seems to be pretty buggy on macOS. In order to do this, you’ll need to create a .octaverc file in your home folder and put the next two lines in this file:
1 setenv("GNUTERM","qt")
2 graphics_toolkit("gnuplot")
A simple way to do the above is to run the next commands in a Terminal
1 echo 'setenv("GNUTERM","qt")' >> ~/.octaverc
2 echo 'graphics_toolkit("gnuplot")' >> ~/.octaverc
Restart Octave in order for the above to take effect.
At this point, you should be able to use Octave normally and use the menus to select the working folder, open, save files and so on. Go to the last part of this article if you want to see an example of using the app.
At this time, there is no official installer for Octave for macOS. In order to install 5.1.0 we are going to use the Homebrew package manager. If you don’t have Homebrew installed, you can install it by running the next command in a Terminal:
1 /usr/bin/ruby -e "$(curl -fsSL https://raw.githubusercontent.com/Homebrew/install/master/install)"Start by making sure that your Homebrew installation is up to date:
1 brew update
2 brew upgrade
Finally, install Octave on your system:
1 brew install octaveThe above command will take some time, because Octave depends on a lot of other libraries. Once the installation is finished, you can invoke the Octave interpreter with the octave command in a Terminal:
1 octaveIf you really want to start the GUI interface, keep in mind that, at least for version 5.1.0, this is pretty unstable, use:
1 octave --guiYou’ll also need to instruct Octave to use the GnuPlot graphical backend for plotting graphics. The default qt backend seems to be pretty buggy on macOS. In order to do this, you’ll need to create a .octaverc file in your home folder and put the next two lines in this file:
1 setenv("GNUTERM","qt")
2 graphics_toolkit("gnuplot")
A simple way to do the above is to run the next commands in a Terminal
1 echo 'setenv("GNUTERM","qt")' >> ~/.octaverc
2 echo 'graphics_toolkit("gnuplot")' >> ~/.octaverc
Restart Octave in order for the above to take effect.
At this point, you should be able to use the Octave CLI interface normally.
If you want to evaluate an existing Octave script, you can do it in a few ways. I’ll assume that you have a file named demo1.m in your current folder.
First start the interpreter and than run the script from an interpreter prompt:
1 ~ $ octave
2 octave:1> demo1
3
4 %% ... optional output from the script ... %%
5
6 octave:2>
The second option is to run the script when you start the interpreter and after the script is finished you will be back at the interpreter prompt:
1 ~ $ octave -i --persist demo1.m
2
3 %% ... optional output from the script ... %%
4
5 octave:1>
If you just want to run a script and exit when done, simply use:
1 ~ $ octave -i demo1.m
2
3 %% ... optional output from the script ... %%
4
5 ~ $
Octave image processing - getting started
In the final part of this article I will show you how to install the Octave image processing package. This should work the same for Octave 4.4.1 or 5.1.0. Start Octave and write the next command at an Octave prompt:
1 pkg install -forge imageThe above will install the image package for Octave. You need to run this command only once after which it will remain installed on your system.
By default, Octave doesn’t load a newly installed package when you start it. In order to use an existing package, use the next command at an Octave prompt:
1 pkg load imageIf you want Octave to always load an already installed package, add the load command to your .octaverc file, e.g. by running in a Terminal:
1 echo 'pkg load image' >> ~/.octavercNext time when you will start Octave it will also load the image package.
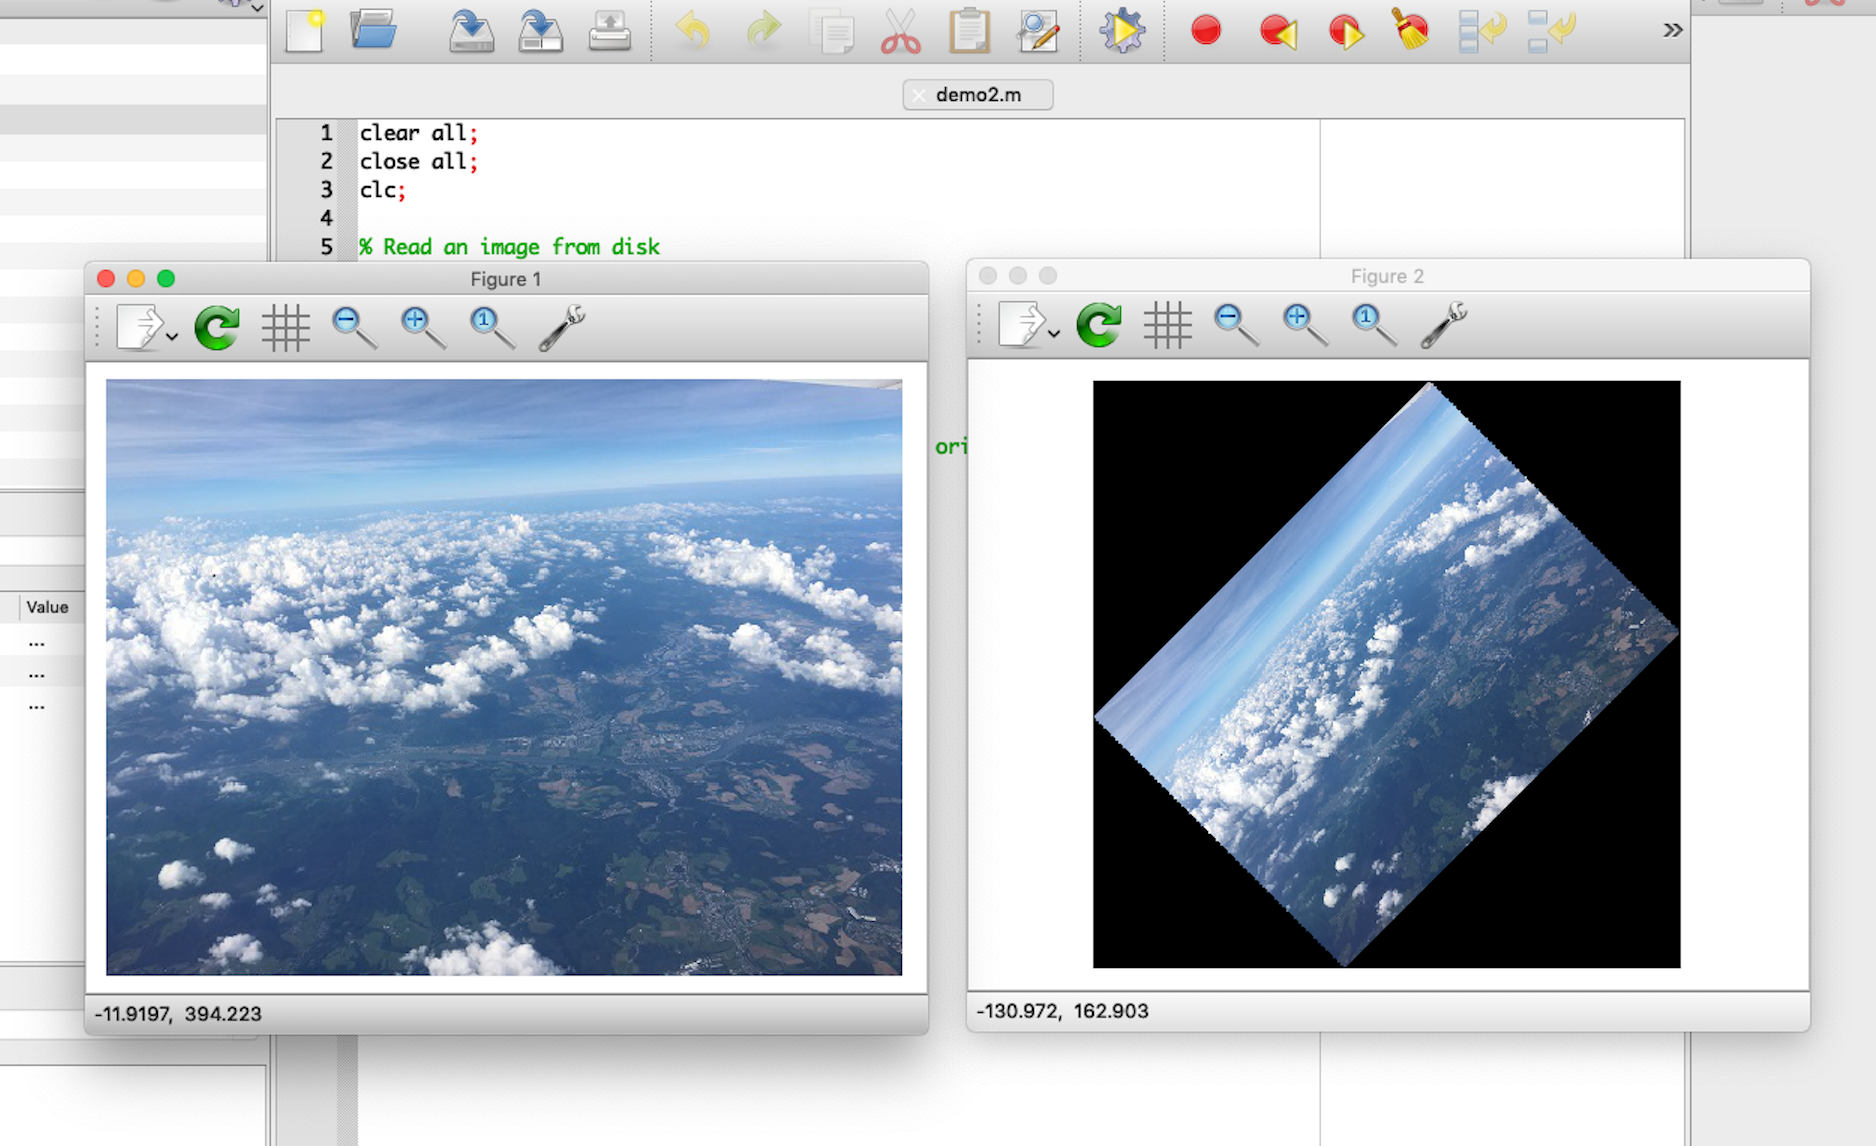
Download clouds.jpg to your working folder and run the next script (I assume that you’ve already installed and loaded the image package):
 1 clear all;
 2 close all;
 3 clc;
 4
 5 % Read an image from disk
 6 img = imread('clouds.jpg');
 7
 8 % Show the image
 9 figure(1)
10 imshow(img)
11
12 % Resize the image (make it 2x smaller than the original)
13 img2 = imresize(img, 0.5);
14
15 % Rotate the image
16 img3 = imrotate(img, 45);
17
18 % Show the original image rotated 45 degrees
19 figure(2)
20 imshow(img3)
This is what I see if I run the above script on my Mac in the Octave 4.4.1 app: