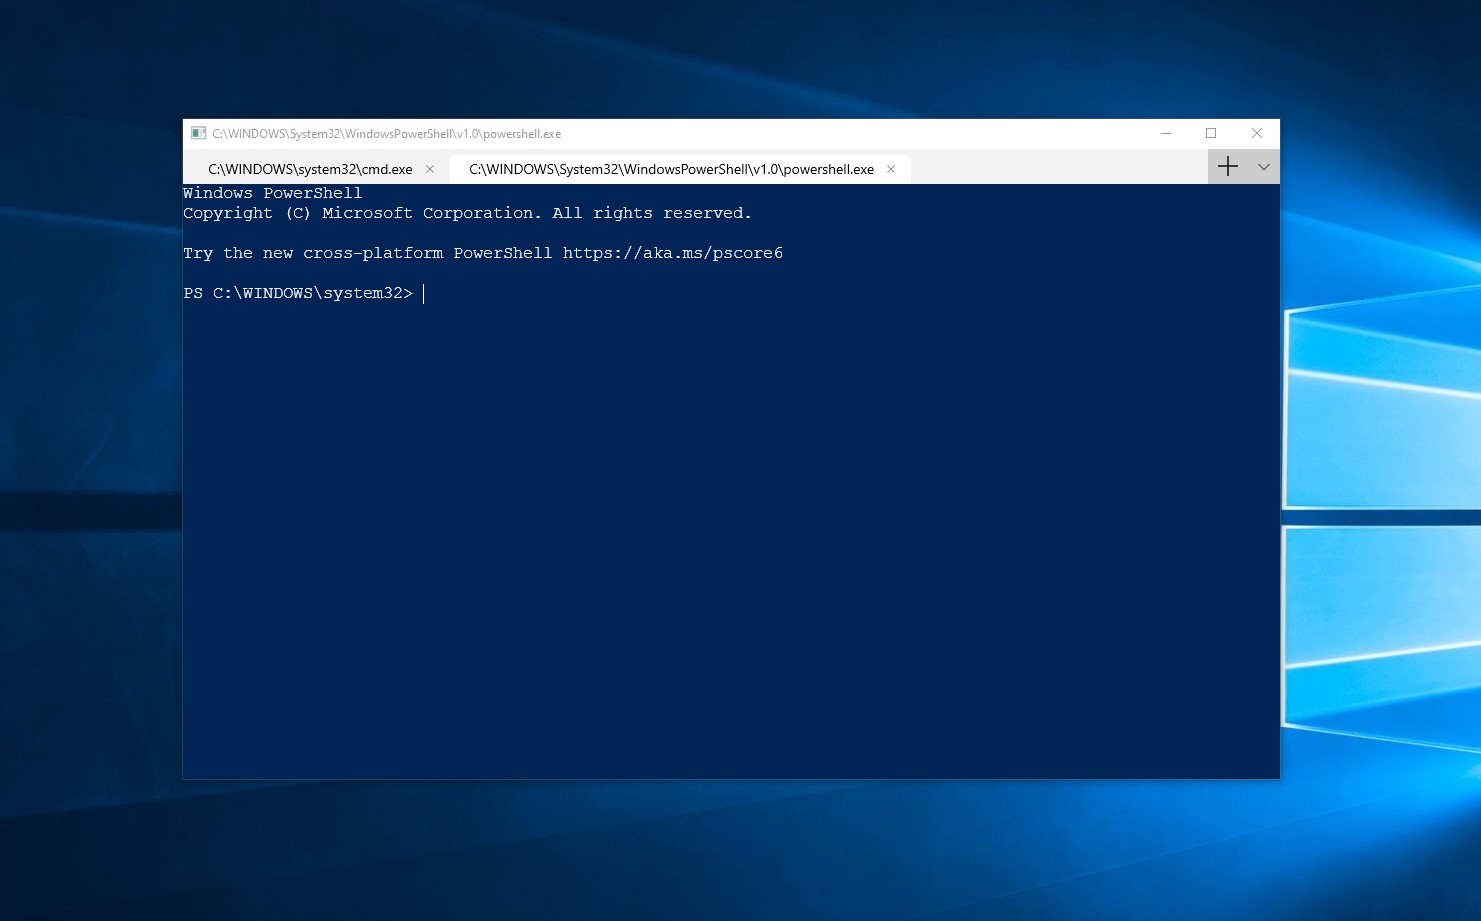
Building the Windows Terminal application with Visual Studio 2019
Posted on May 13, 2019 by Paul
In this article, I will show you how to build the newly released Windows Terminal from Microsoft. At the time of this writing, you need to build the application yourself, but it is expected to be released in the Windows Store by the end of this year.
Windows Terminal is a new Terminal application from Microsoft that has tabs, multiple profiles, colors, text resizing, transparency and a lot of features which makes it similar with the best Terminal applications from Linux and macOS.
There is also a video version of this tutorial:
In order to be able to use the Windows Terminal application, you will need at least Windows 1903 which is going to be released this month, in a matter of days. If you are like me and can’t wait until the official release of 1903, you can install Windows Insiders edition which will let you build and use the new Terminal application today. If you already are on Windows 1903, or up, you are good to go.
Open a Console window and check what build version of Windows 10 you have:
1 verThis is what I see on my machine:
1 C:\>ver
2
3 Microsoft Windows [Version 10.0.18362.86]
4
5 C:\>
If the third number from the build version starts with 18, or newer, you should be OK. You can get more informations about your Windows version with the winver command.
You will also need to enable the Developer Mode from Settings → Update & Security → For Developers.
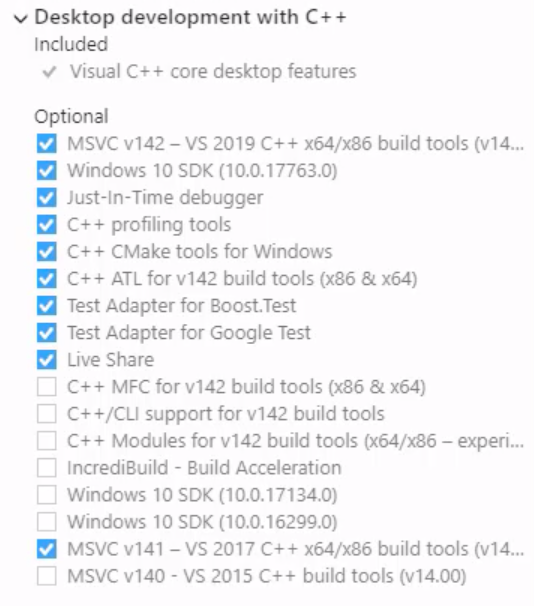
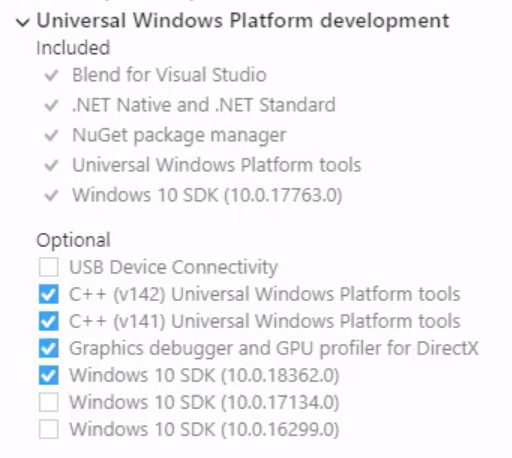
In order to build the actual app, you will need Visual Studio 2019. Go to the Visual Studio website and get the installer. Once you’ve finished the download, start the installer. Make sure that you check at least two workloads: Desktop development with C++ and the Universal Windows Platform Development. You will also need to select the MSVC v141 build tools, the Windows SDK version that matches your Windows build number, in my case this was 10.0.18362:
Press Install and accept the defaults.
If you’ve already installed Visual Studio 2019, you’ll need to open the installer from your Start menu and verify if the above options are checked.
If you already have git installed on your Windows machine you should be OK. If not, you can get it from Git for Windows. Start the installer and accept the defaults.
Next, open a Console Window and create a working folder in which we will keep the source code for the Window Terminal:
1 mkdir work && cd workClone the Windows Terminal and get the dependencies with:
1 git clone https://github.com/microsoft/Terminal.git
2 cd Terminal
3 git submodule update --init --recursive
Open the work folder in Windows explorer, you can open it directly from the above console with:
1 explorer .Next, double click OpenConsole.sln and, when asked, open it with Visual Studio 2019. Change the Windows SDK version to match the build version of your Windows and change the second option to No Upgrade:
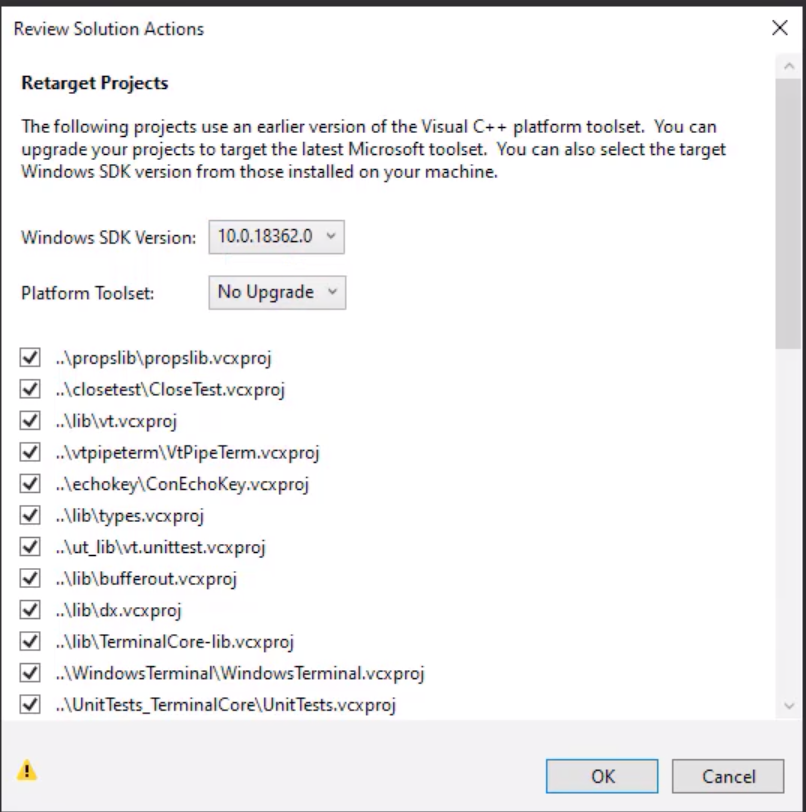
Press OK and wait a few moments for the files to load. There is a good chance that you will be prompted to install missing dependencies, chose Install and wait until the installation is done.
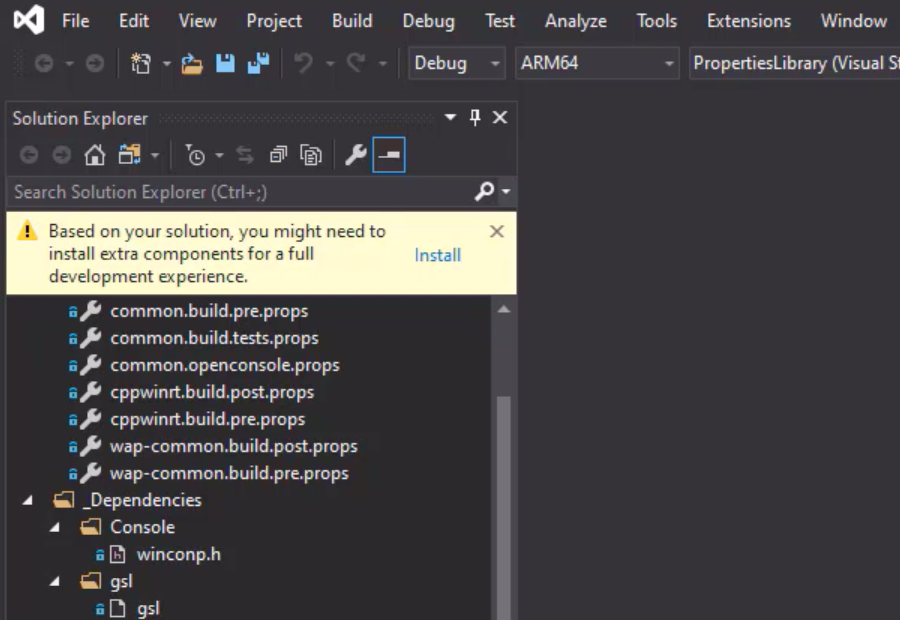
Next, change the architecture to x86, the build to Release and make sure that the Cascadia Package is the selected solution:

Use the Build menu to build the solution and wait until the compilation finishes, this could take a few minutes depending on the speed of your machine. If there is no build error, you can select Deploy solution from the Build menu.
Now we are done, you can find the newly installed Windows Terminal in the Windows Start menu. Be sure to select Windows Terminal and not Windows Console. You can press CTRL-T to open a new tab, you can use CTRL and scroll to increase or decrease the font size. If you want to change the Terminal opacity use CTRL-SHIFT and scroll.
This is how the Windows Terminal looks on my machine, with two tabs opened, one with the default cmd profile and the other with powershell:
