Install NumPy, SciPy, Matplotlib and OpenCV for Python 3 on Ubuntu 18.04
Posted on April 26, 2018 by Paul
Updated 26 June 2019
This is a short article about installing NumPy, SciPy, Matplotlib and OpenCV on the latest Ubuntu LTS, which at the time of this writing is 18.04. Ubuntu 18.04 comes with Python 3.6.8, but I will show you how to install Python 3.7.3, which at this time it is the latest stable version of Python.
Let’s start by making sure we have an updated system:
1 sudo apt update
2 sudo apt upgrade
In the first part of this article, I will show you how to install Python 3.7 and how to create a virtual environment in which we’ll install NumPy, SciPy and Matplotlib. In the second part of the article, I will show you how to, optionally, install OpenCV 4.
There is also a video version for the first part of the tutorial:
On Ubuntu, the default Python 3 installation is split into a number of separate packages. Let’s install some of these in order to make our Python system more complete:
1 sudo apt install python3-venv python3-pip python3-tkThe above command will install support for using virtual environments, the pip3 package manager that can be used to install various libraries and Tkinter support for GUI programming with Python.
The problem with the default Python installation is that it is a bit old. Fortunately, Ubuntu 18.04 also provides Python 3.7.3 as a separate install. Let’s install the 3.7 version, this will be installed separately and won’t mess up your default Python version:
1 sudo apt install python3.7 python3.7-dev python3.7-venvAt this point, you can invoke the newly installed Python 3.7 with:
1 python3.7Please note that python3 will invoke the default system Python which is 3.6. So, use python3.7 when you want to use the latest version.
Let’s follow best practices and create a virtual environment in which we will install NumPy, SciPy and Matplotlib:
1 python3.7 -m venv work3.7The above command will create a new folder named work3.7 in which you will have a fresh Python 3.7 virtual environment.
In order to be able to use the virtual environment, you’ll need to activate it:
1 source work3.7/bin/activateWhen an environment is activated the shell prompt is temporarily changed to show the name of the active environment. If you close your Terminal or restart your machine, the environment is deactivated. You can also deactivate an environment by using the deactivate command.
When you are in an activated environment you can simply use python and pip to invoke the Python interpreter and the package manager. In other words, inside a Python 3.7 environment you don’t need to use pyhton3.7, using python will invoke the Python 3.7 interpreter.
Now, let’s install NumPy, SciPy and Matplotlib in the above environment:
1 pip install numpy scipy matplotlibIf you need OpenCV, you can install it with:
1 pip install opencv-pythonthe above will install OpenCV 4.1 or newer on your environment.
From now on, when you want to be able to use any of the above libraries (NumPy, SciPy, Matplotlib, OpenCV) you will need to make sure that the work3.7 is activated by using the above source … command. Otherwise, you will get a ModuleNotFounrError error because we’ve installed the libraries in a virtual environment.
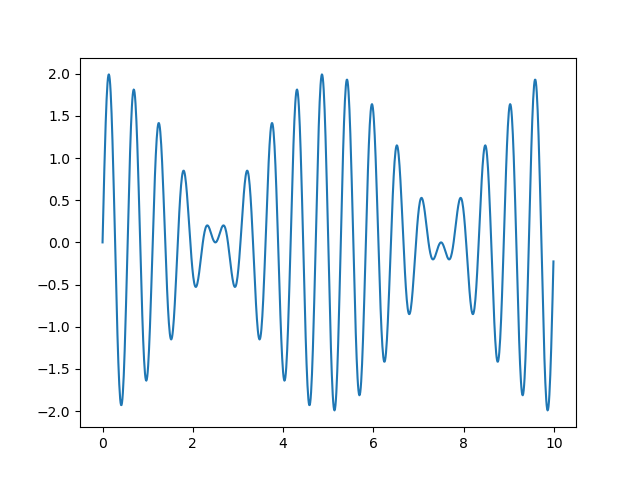
We can test ScipPy and Matplotlib, by writing a short test program:
1 import scipy as sp
2 import matplotlib.pylab as plt
3
4 t = sp.arange(0, 10, 1/100)
5 plt.plot(t, sp.sin(1.7 * 2 * sp.pi * t) + sp.sin(1.9 * 2 * sp.pi * t))
6 plt.show()
Save the above code as test_0.py and run it with:
1 python test_0.pyYou should see something like in the next figure:
We can also write a small test program that will print the OpenCV version, load an image from the disk, convert the image to gray and show the result. Start by downloading the next image:
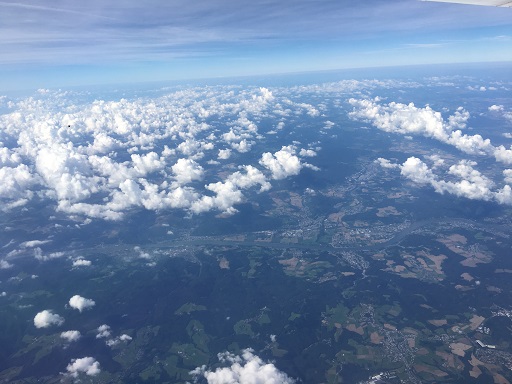
Save it as clouds.jpg. In the same folder where you’ve saved the above image, create a new file test_1.py and write the next code:
1 import cv2
2
3 print("OpenCV version:")
4 print(cv2.__version__)
5
6 img = cv2.imread("clouds.jpg")
7 gray = cv2.cvtColor(img, cv2.COLOR_BGR2GRAY)
8
9 cv2.imshow("Over the Clouds", img)
10 cv2.imshow("Over the Clouds - gray", gray)
11
12 cv2.waitKey(0)
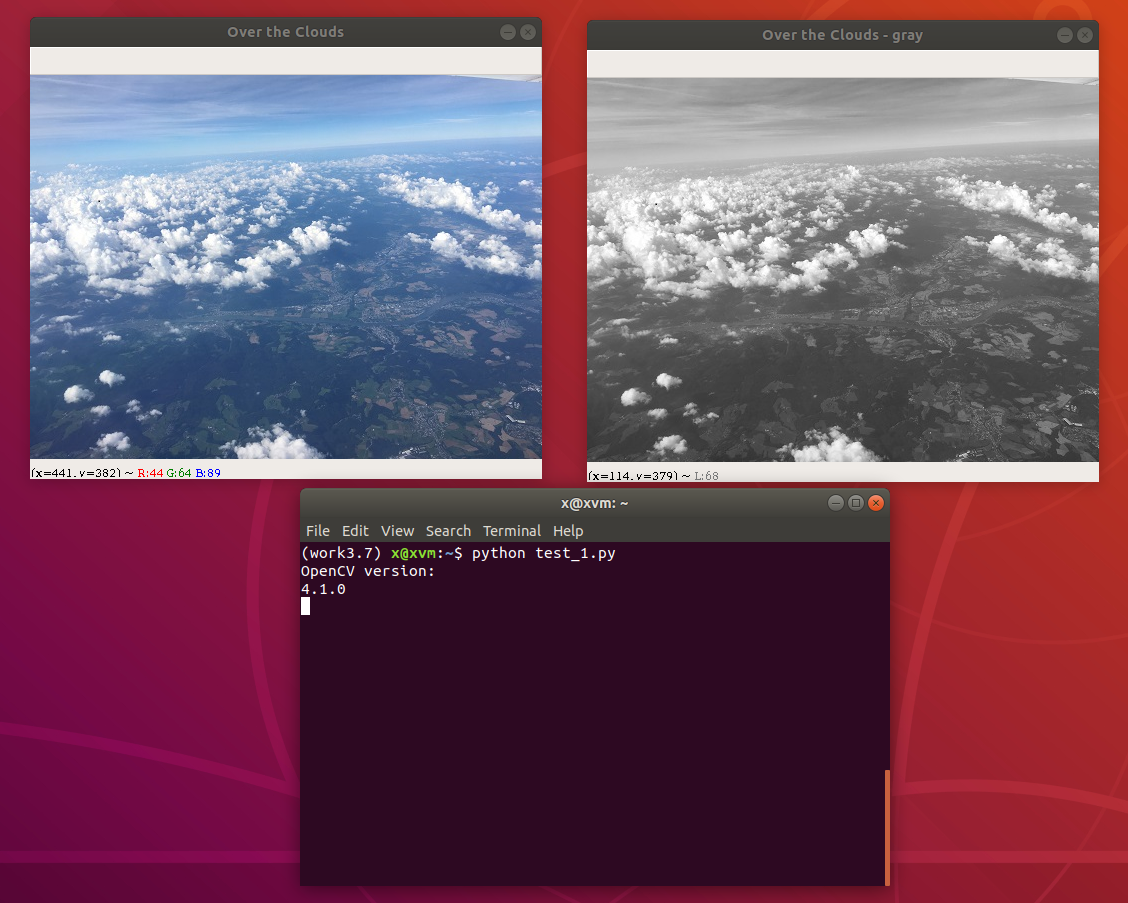
13 cv2.destroyAllWindows()Run the code with:
1 python test_1.py(You can close the two windows by pressing ESC!)
You should see something like in the next figure:
If you want to learn more about Python and Matplotlib, I recommend reading Python Crash Course by Eric Matthes. The book is intended for beginners, but has a nice Data Visualization intro to Matplotlib chapter:
If you want to learn more about OpenCV and Python, I would recommend reading OpenCV with Python Blueprints by M. Beyeler: